Here, I explain how I built the second of our two aviaries. It will be a quarter of the length of the main aviary.
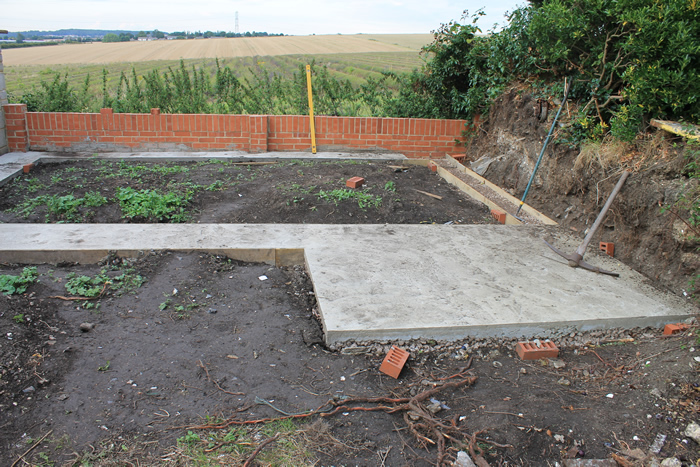
The first step is to mark out the area and then lay concrete pathways all around. There is also a slab for a shed which will form a part of the final build.
The concrete is important for several reasons. Firstly, it makes it easy to both watch the birds and check the aviary for issues with the buiding.
Secondly, it helps to fox-proof and rat-proof the aviary. We have several times found holes dug by foxes, especially in the springtime. In the original build I buried chicken wire under the foundations and this has stoped many a fox entering. We have also had problems with rats burrowing under the foundations and estabishing nests for themselves. The pathways help prevent this also as they seem not to be able to burrow for long distances. The wire is a key barrier to them as well.
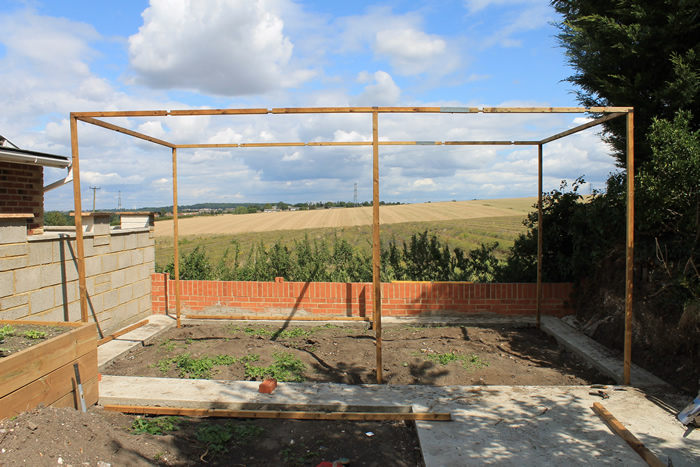
Once the concrete is laid, I erect the basic frame. There are 6 3.4m uprights that are sunk into the ground. Cross-pieces along the top and connectors at the bottom of the uprights are put in place to help get everything aligned and vertical. Everything is pre-cut to size and so ensures that everything is square.
The width of the aviary is 2820mm This is determined by the width of a length of wire, which is 910mm This build is three wire widths wide. The length is 5100mm. This is to take advantage of the space and is 5½ wire widths long.
The height is 2474mm. This is because the uprights are formed from 2400mm poles which sit between 47mm x 47mm poles, each of which has a 10mm recess cut to locate the uprights.
Here, you see the uprights being added. However, there is also a course of bricks laid under the base poles (see the insert bottom left of the image). These support the base poles and provide a neat edge to the structure as well as bringing the wood off the soil.
The ground has also been level off, though not perfectly. We have found that a lawn is not as good as a rough, meadow-like floor. The quail, for example will seek out hollows or tufts of grass to build nests or shelter.
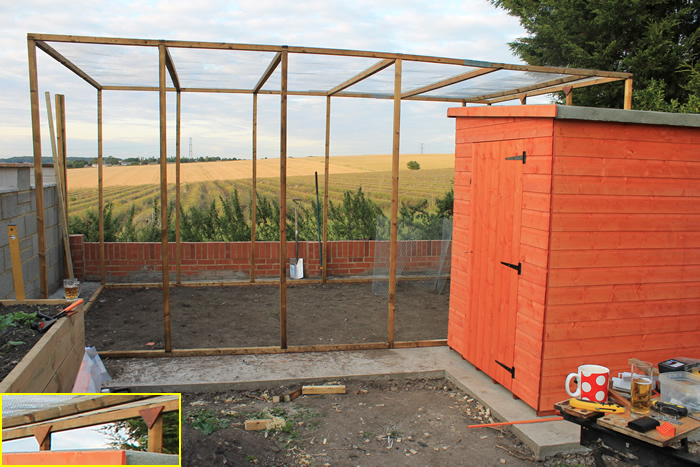
Several things have happened here. Firstly, tea has been replaced by beer! The uprights and roof cross-members are in and the roof now has wire on. As well as stapling the wire in position, there are also additional strips screwed onto each cross-member, holding the wire in place.
The uprights are held in place in two ways - those under a roof cross-member are screwed in from above. The others are held using wooden triangles at each joint. These go at the top and bottom or each upright (see inset).
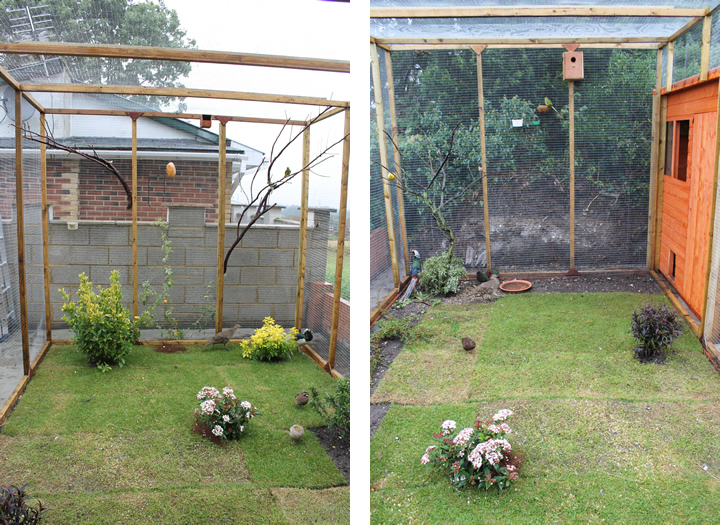
Then there is the shed. This has 2 doors. The one on the right gable that you can see here and one on the front of the shed. This provides 2 things. Firstly, a double door to get in and out of the aviary. Secondly, it provides shelter for the birds. they have access to the shed through it's window and through a hole cut at the bottom.
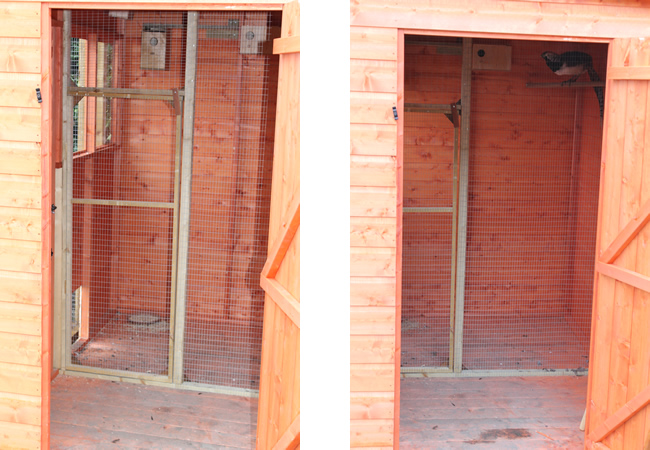
Inside the shed is a wire-off section for the birds to roost and nest and feed during wet weather. We will continue to feed them outdoors whilever this is feasible. I have purposly not provided a water-proof area within the run, expecting the community to use the bird house when needed. I'm not sure how this will work out but we will monitor this and respond if necessary.
Once the shrubs have grown they will provide excellent shelter as well. The finches are already using a Euphorbia and the quail are using various plants also. I have also added several perching opportunities in the corners of the space. There are also nesting boxes both outside and in the shed. Most of the floor of the aviary of turfed but some sections are left bare to provide somewhere for the ground birds to scratch around as well as have dust-baths in.